9 Travel Photography Tips for Beginners

Gain more confidence with these 9 easy travel photography tips for beginners!
I've always loved taking pictures, but it wasn't until I bought my first DSLR that I really caught the photography bug.
I rarely buy souvenirs from the places that we visit since my photos make for a much better way to remember trips by.
If you're interested in travel photography, know that there's definitely a learning curve.
Travel photography requires the right equipment, techniques, and skills.
It might seem overwhelming at first, but with some practice, you can have your photos looking breathtaking!
Start small with manageable steps, and you’ll be showing off those new skills in no time.
Below, I’ve broken down my beginner photography tips into 3 parts:
what you should do before you leave,
what you should do on your trip, and
what to do when you get back home.
This post contains affiliates. If you choose to purchase, I will receive a commission at no charge to you.
Before the Trip: Beginner Photography Tips
#1) Identify the Types of Photos You Want to Take
You also have to identify the kind of photography you want to do on a certain trip so that you know the right equipment to bring.
If you like landscape photography, you need a tripod for steady shooting.
This is important even if you’re using a smartphone in lieu of a separate camera. GorillaPod tripods come highly recommended for smartphone photographers.
If you want to photograph people, bring a couple of portrait photography lenses that will help make your subjects stand out amid a beautiful blurry background.
(Side note: I just bought my first one and it is amazing!)
>> Check out portrait photography lenses on Amazon. <<
Setting your priorities will ensure that you don’t bring lenses and other photography gear that you won’t use for a particular trip and will just take up space in your bag.
Get inspiration from Instagram: pay attention to the photos that pop out at you when you're scrolling through other people's vacation photos.
What makes them compelling?
How can you possibly recreate that in your destination?
#2 Pack the Right Photography Equipment

My Nikon D40 DSLR with my beloved travel scarf
Bring a lightweight laptop and two or more versatile lenses.
I recommend the Canon EF 85mm f/1.8, a portable telephoto lens that’s great for shooting portraits, landscapes, macro, and many others. That will be your bread and butter.
If you want another option for general use, I’d recommend that you get a 18mm-55mm kit lens, too.
Don’t forget to bring extra batteries and memory cards, too!
I can't recommend a DSLR enough for gorgeous travel photos, and, thankfully, there are plenty that are easy enough for even a beginner to learn.
The Canon Rebel is a great choice, as is the Nikon D40.
If you want something that's easy to carry—and which is perfect for traveling, I can't recommend a Sony A6000 enough.
I currently use my Sony A6000 mirrorless camera over my other cameras, including my Nikon DSLR because it's a lightweight camera that can use lens from my other cameras with adapters.
#3 Research Your Destination
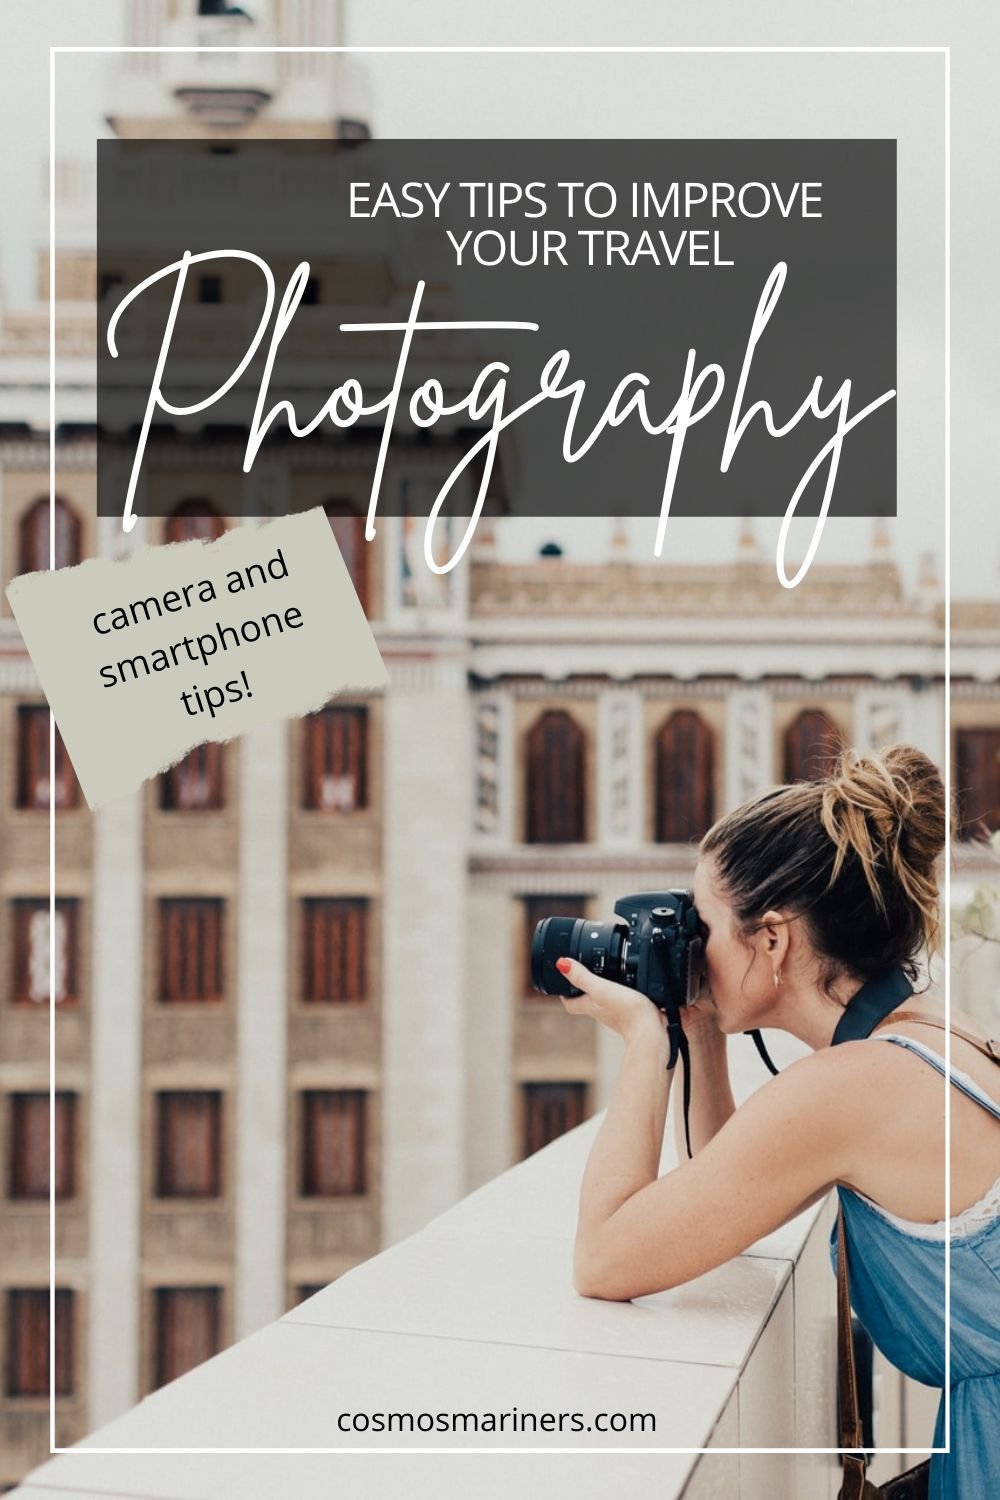
PIN ME!
Gather as much information about the places, people, and things that you’ll need to take photos of.
Read about them online and get to know their culture so that you’ll know how to behave properly, such as when taking photos of the locals and sacred places of worship.
If you want to take aerial shots, know the drone regulations of the country or city where you plan to fly your drone.
Some countries don’t allow it, while others impose restrictions on its use.
It’s also important to check the prevailing weather during your trip, as your travel photography skills are tested even more in inclement weather.
Doing so will also allow you to prepare if you need to bring protective gear for your camera and yourself.
For example, you’ll need to bring photography gloves for shooting in winter, as you can’t take steady shots with your hands freezing in the cold.
In tropical, humid countries like Jamaica and Costa Rica, bring rain covers to keep your camera, lenses, and camera bag dry while shooting in the rain.
During the Trip Photography Tips
#4 Take a Series of Shots Using Different Angles
Avoid the postcard shots and think outside the box!
Snap photos from above, below, sideways, and even on inverted angles.
Doing so will show fresh and different perspectives through your photos.
Being experimental will make you understand your style in photography better, which will be useful for your future trips.
Plus, shooting in digital means you don't have to worry about wasting money on film if you don't take the perfect shot the first time.
Camera cards are cheap, so take pictures of everything from every angle!
#5 Highlight the Details

Every site and structure has intricate details that are just waiting to be noticed and snapped.
Pay attention to the details that make up the place or the person you’re photographing.
Look for interesting patterns, lines, and complementary and analogous colors because they enhance the look of the subject in your photos.
I try to think big and small for my pictures whenever I'm traveling: I want the overview shots of that impressive castle, but I also want focused shots on the intricate handrail carving.
Both types of shots help you tell the full story.
#6 Shoot in Manual Mode
This is still the hardest one for me since there's so much to remember when it comes to getting a great picture in manual mode.
When doing photowalks, always shoot in manual mode to have an idea of how your photos will come out.
While the Auto mode will always be a useful feature of a camera, especially for beginners, it’s still better if you have control over your camera settings for every shot—which you can do only when shooting in manual mode.
Mix together the aperture, shutter speed, and ISO depending on what you think are the best settings for the most flattering shot of your subject.
After Your Trip Photography Tips
#7 Back Up Your Photos...and Back Them Up Again
If I ever lost all of my photos, I think I would sob for hours: .
Not only are my travel memories there, but so are the pictures of my husband and I in our early married years and our kids' entire childhoods.
After a freak flooding incident in our previous house where my hard drive was nearly crushed by failing sheetrock, I have gone into overdrive mode with the picture saving.
I now have 3 (yes, count them--THREE) hard drives that I used to back up my photos.
Invest in a high-quality hard drive (or two or maybe three if you're crazy like me) that can keep all your files for future use.
This can also help you clear out your memory cards, so they’ll be ready for use for your future trips.
#8 Edit Your Best Photos

After lightly editing a photo of Schloss Linderhof, Bavaria, Germany
There will be photos that need to undergo post-production process, and that’s okay.
Do it only if you think your photos need enhancements.
Avoid overdoing the photo editing because this will make your pictures look overly manipulated and far from being natural.
I usually save the file twice: I keep the original, unedited one, and then save a separate file for the edited photo.
That way, I have the original image if I need to crop or change it for future posts or projects.
Editing is where you learn more about your own photography style and where you can pinpoint what you need to work on. F
or some reason, I tend to tilt the camera slightly when I'm shooting, which makes for a lot of ever-so-subtly skewed pictures.
Now that I've edited SO many of these tiled pictures, I am more aware of that inclination when I'm actually out shooting.
#9 Put Your Shots to Good Use

Photo books are an easy way to display your travel photography
After editing your photos, think of the best ways to showcase your work. You can always try travel blogging.
Consider having your photos printed, too, as there are a lot of creative ways to preserve your memories of travel.
Sharing your work is important because it can tell inspiring stories and encourage people to go after their travel goals.
I hope these travel photography tips not only result in better travel photos but also make your trips worthwhile and memorable.
Have fun making memories!
What's your biggest challenge when it comes to travel photography?